
EPAX X1 LCD 3D printer REVIEW !!
This time let me introduce the latest-type SLA 3D printer -EPAX X1 that is not available in Japan.
You can watch my video.
目次
“EPAX X1” came to MY HOME !!
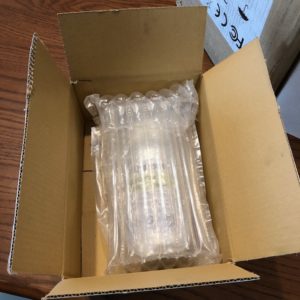
The latest SLA 3D Printer, “EPAX X1” has just arrived at my home!
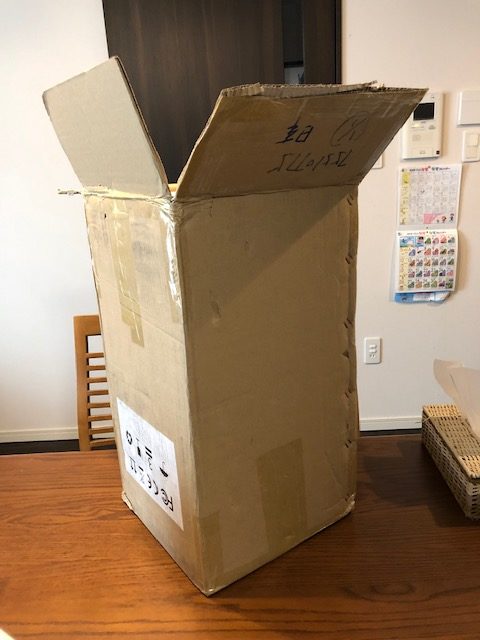
My 4th 3D printer came from overseas.
This time I purchased a SLA type. This is my first SLA printer. It seems that it was just released this year, and it has been sold on US Amazon, but cannot get it on Japan Amazon.
The price is affordable – $499 (just about 60,000 yen). I was surprised to see there are so many high evaluations for this printer on US Amazon.
As you know, thare are one famous stereolithography 3D Printer for home use – Anycubic Photon. But Anycubic Photon needs manual calibration and I’ve seen so many complaint about uneasiness of calibration.
I’m not good at using machine that why I’ve been looking for a SLA printer that has auto-calibration system and I finally did find it.
Unfortunately the printer was out of stock on US Amazon. I regret not buying it immediately. A week ago, I purchased a printer at the manufacturer site. I was a bit anxious about whether I can get printer safely. After five days, the printer arrived at Japan.
As the manufacturer told me that resin cannot be shipped by air, I purchased in Japan. What I bought is the Water Washable resin made by Japan company.
Accessories. It isn’t clear in the photo, also has one USB.

According to the instruction on the lower right of the photo, I have to “read the manual PDF file in the included USB stick first,” but soon I found it was just same as the printed manual attached. So you only have to read the attached paper manual.
You can also see some video in the Manufacturer’s homepage.
https://epax3d.com/pages/video-instructions
Let me tell you that this Manufacturer’s customer service is AMAZING. They answered every question I had and every answeres came quickly, often within 10 minutes.
If you access Manufacturer’s homepage, you may notice there are messenger icon coming up automatically.

Set-up
The EPAX X1 is a rare SLA printer with the auto-calibration function. Setup is so easy from unboxing to first printing! Unboxing to test print just needs less than 30 minutes.
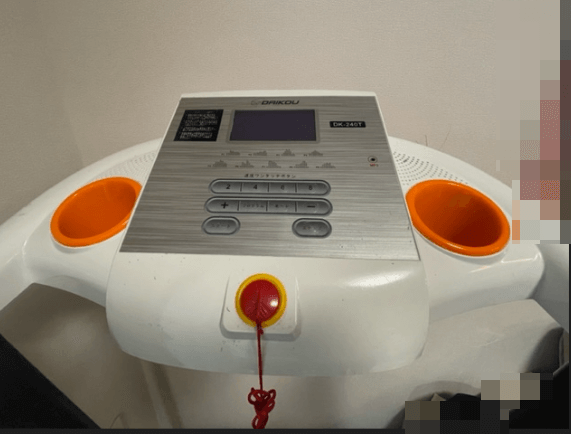
After powering on, move the Z axis upwards.
You can move the Z axis by “Tool” → “Manual” → “Up arrow”. After moving the Z axis, install the build platform. When installing, loosen the screw a little.


Install the platform.

Then adjust the Z-axis zero position.
Click “Tool” → “Manual” → “Home button” to complete. When completed, you will hear continuous beeps twice.

If you check the following two points, setup before printing is completed.
Check if there is no problem with the light source (Click “Light” → “Tool” → “Calibrate” → “Next” Then you will see light is ON)
Check the vat’s screw tighten.
Test print
I prepared water washable resin for this printer. Because my kid is still small, I selected this resin for safety. It is also the reason that water washable resin can save time to wash with alcohol after printing.

*This resin only available on Japan Amazon.
*You can get another water washable resin on US Amazon.
Slowly pour the resin into the vat until the resin level reached about 1/3 height of the vat. Don’t forget wearing gloves!

Close and select the data to print. Since the sliced data is already sliced and ready to print in the attached USB. At the first print, it is recommended to print the included file. The time for test print is about 2 hours and 50 minutes.

It is recommended to check the building status 30 minutes after the start of printing.
According to the manual, in the first test print, it is recommended to check whether the object sticks to the build platform 30 minutes after the start.
About 25 minutes after the start
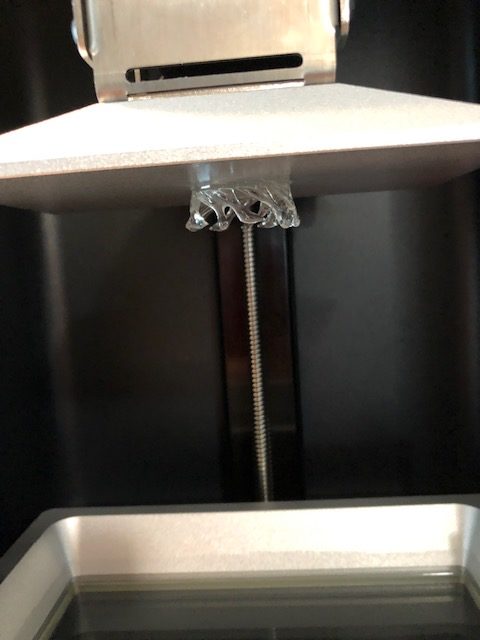
Great!! It seems to be no problem!!
90 minutes after the start
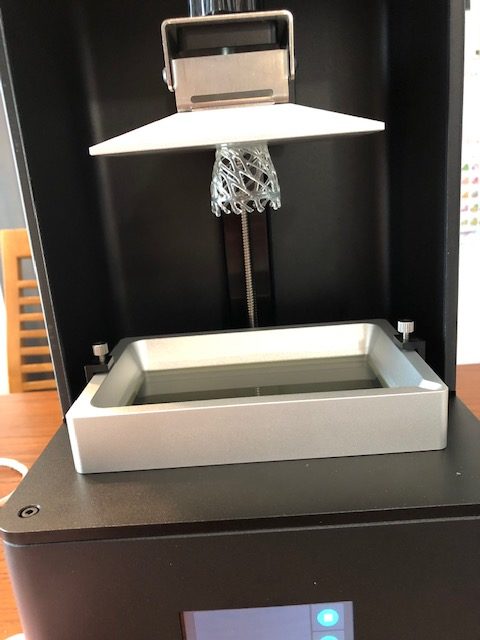
If you want to check the state of building, you can pause any time when you want. Press the pause button then the building platform move upwards automatically. Now you can check whether everything is OK. You can also pause so that you can add resin during printing.
Push the resume button then the building platform move downwards automatically and resume printing.
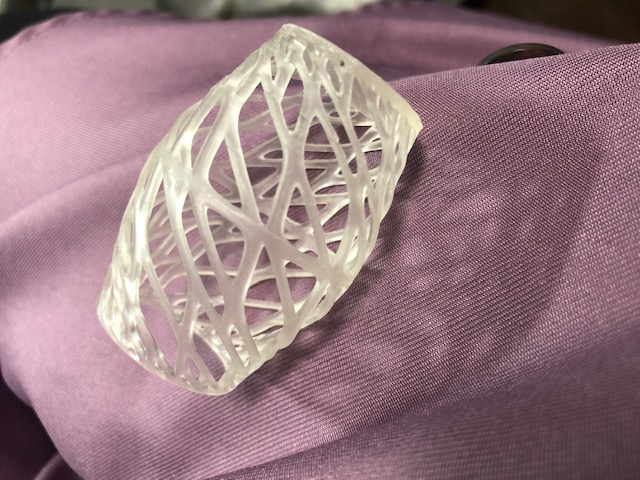
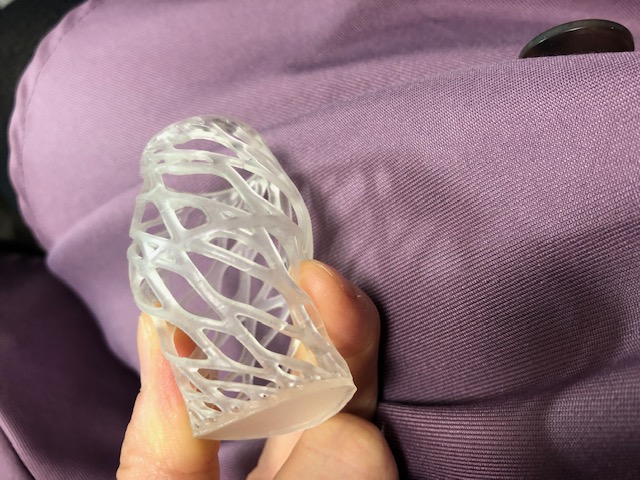
Building is complete!
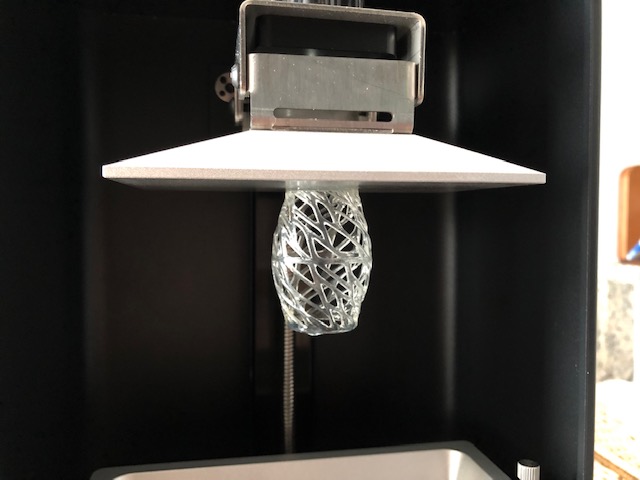
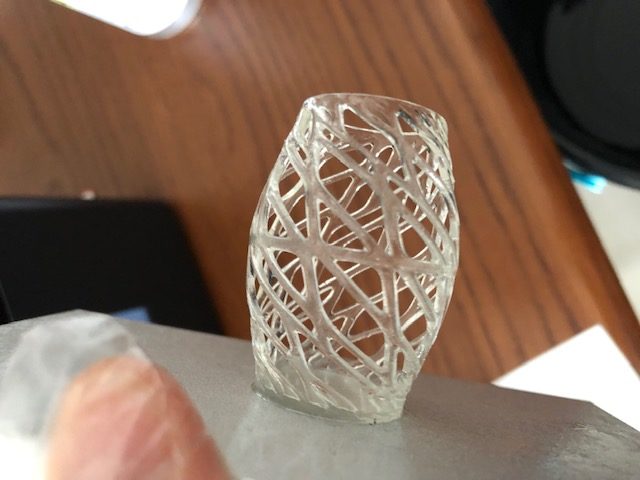
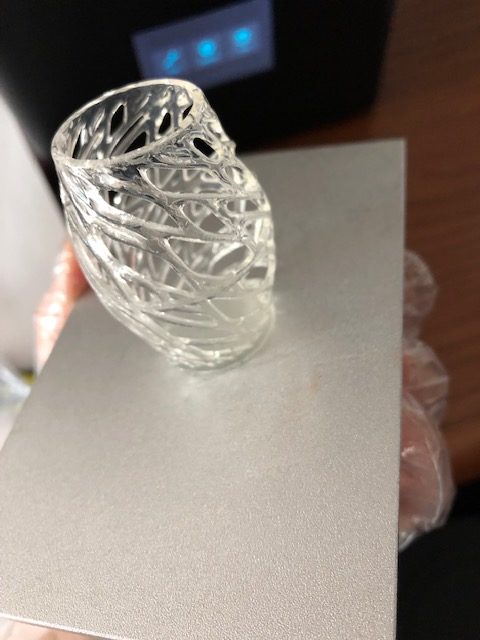
Perfect !!
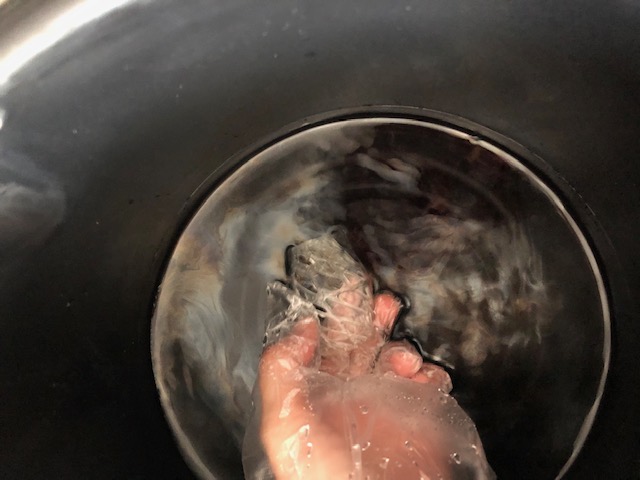
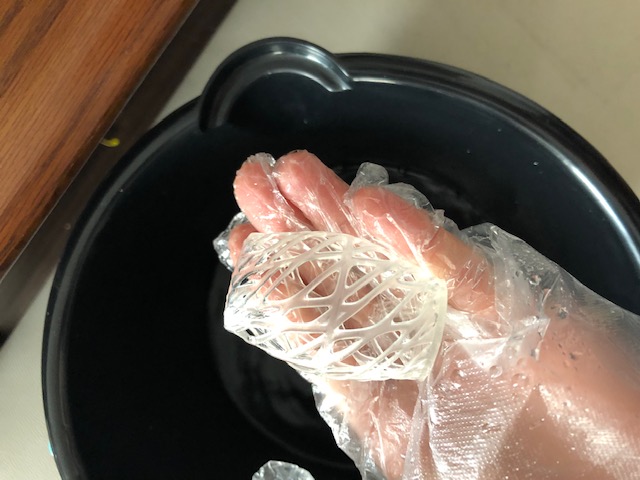
Wash the printed object
What I prepared for post printing treatment

Bucket (To wash away the resin)
gloves
Kitchen paper
I don’t know how long I have to wash so I scrub away by hand. I washed it until there was no resin in the gap.
Post-curing using sunlight

I placed the printed object by the window for post-curing.
After 1 day
There are almost no change in color.
Processing of remaining resin
What I failed in the first print is that I poured too much resin into the resin vat. I was worried that it would be short of resin during printing. Pouring too much resin resulted in the trouble of post printing treatment.
Since the filter paper was attached to the printer, I poured remaining resin back into the original bottle using filter. But after that I knew it iwas not recommended to pour remaining resin back into the original bottle. You had better to pour into an empty bottle. Then I wiped the vat with kitchen paper.
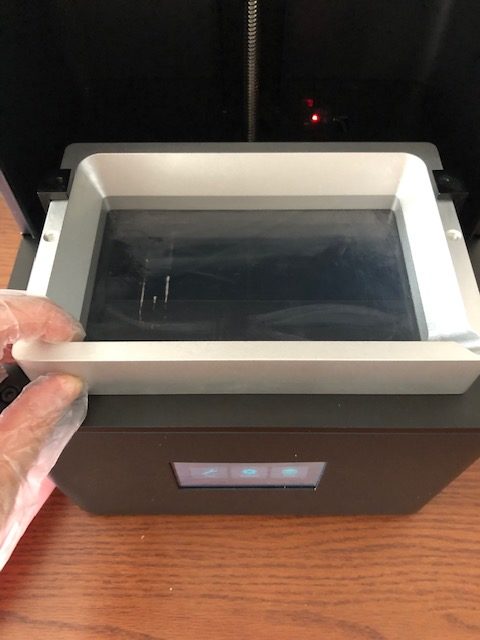
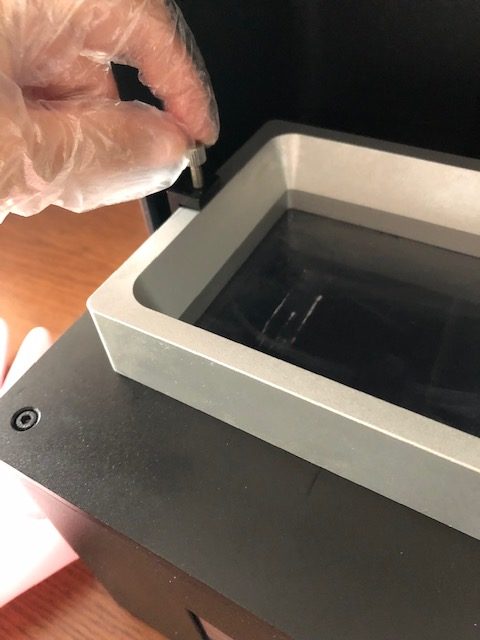
Install the vat in the printer then tighten each screw.
First Verdict
Everything but slicing software considered I was pleasantly surprised how well the EPAX X1 worked, both regarding print quality as well as ease of use, especially auto-calibration system.
Regarding to slicing software, later I will try and update information.
Where to BUY
Only I know is that the Manufacturer’s homepage or US/UK Amazon. But now both US and UK Amazon is out of stock.
I recommend you to visit the Manufacturer’s homepage.
If you don’t mind using regular resin, you can get eSUN resin both Amazon and the Manufacturer’s homepage. But for the first purchase, the Manufacturer may send you 1 bottle for free.